Quick Start Guide with LaunchPad Studio
Motivation
LaunchPad Studio is a tool for building LLM-powered applications with composable tasks. It is designed to be:
- Extensible: Users can add new tasks, flows, and datasets.
- Scalable: It is easy to scale up the platform to handle any nunber of tasks and flows.
- Secure: The platform is designed to be secure. It comes with builtin security features such as authentication and authorization, data residency.
- Easy to use: It is simple for even business users to create new LLM-powered workflows.
- Easy to maintain: Users can easily operate and monitor the flows.
- Easy to deploy: It is easy to deploy and secure the platform in IM8-compliant method.
Sample Web Page Q&A flow
To get started with the LaunchPad Studio, let's build a simple flow. In this example, we will create a flow that loads data from a news article and answers questions about the article using LLM. We will use this CNN news article about AI industry's statement on AI risks
Conceptually this is what the flow diagram looks like:
graph LR
  Input --> WebLoader --> LLM --> Output
Let's go step by step:
I. Create a new Flow
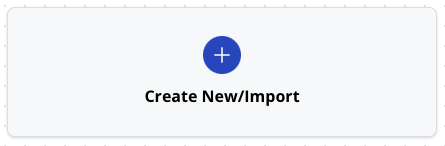
- Start at LaunchPad Studio
-
Click on Create New/Import
-
A flow requires Flow Name and Flow Type denoting its purpose, such as
QuestionAnswering,Summarization,Classification(you can add your own if none of these matches what you need).Enter
My Article Q&A Botas Flow Name andQuestionAnsweringas Flow Type.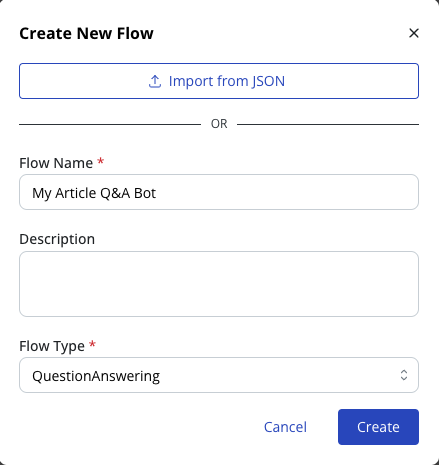
-
Click Create. You will be shown the main interface of the LaunchPad Studio.
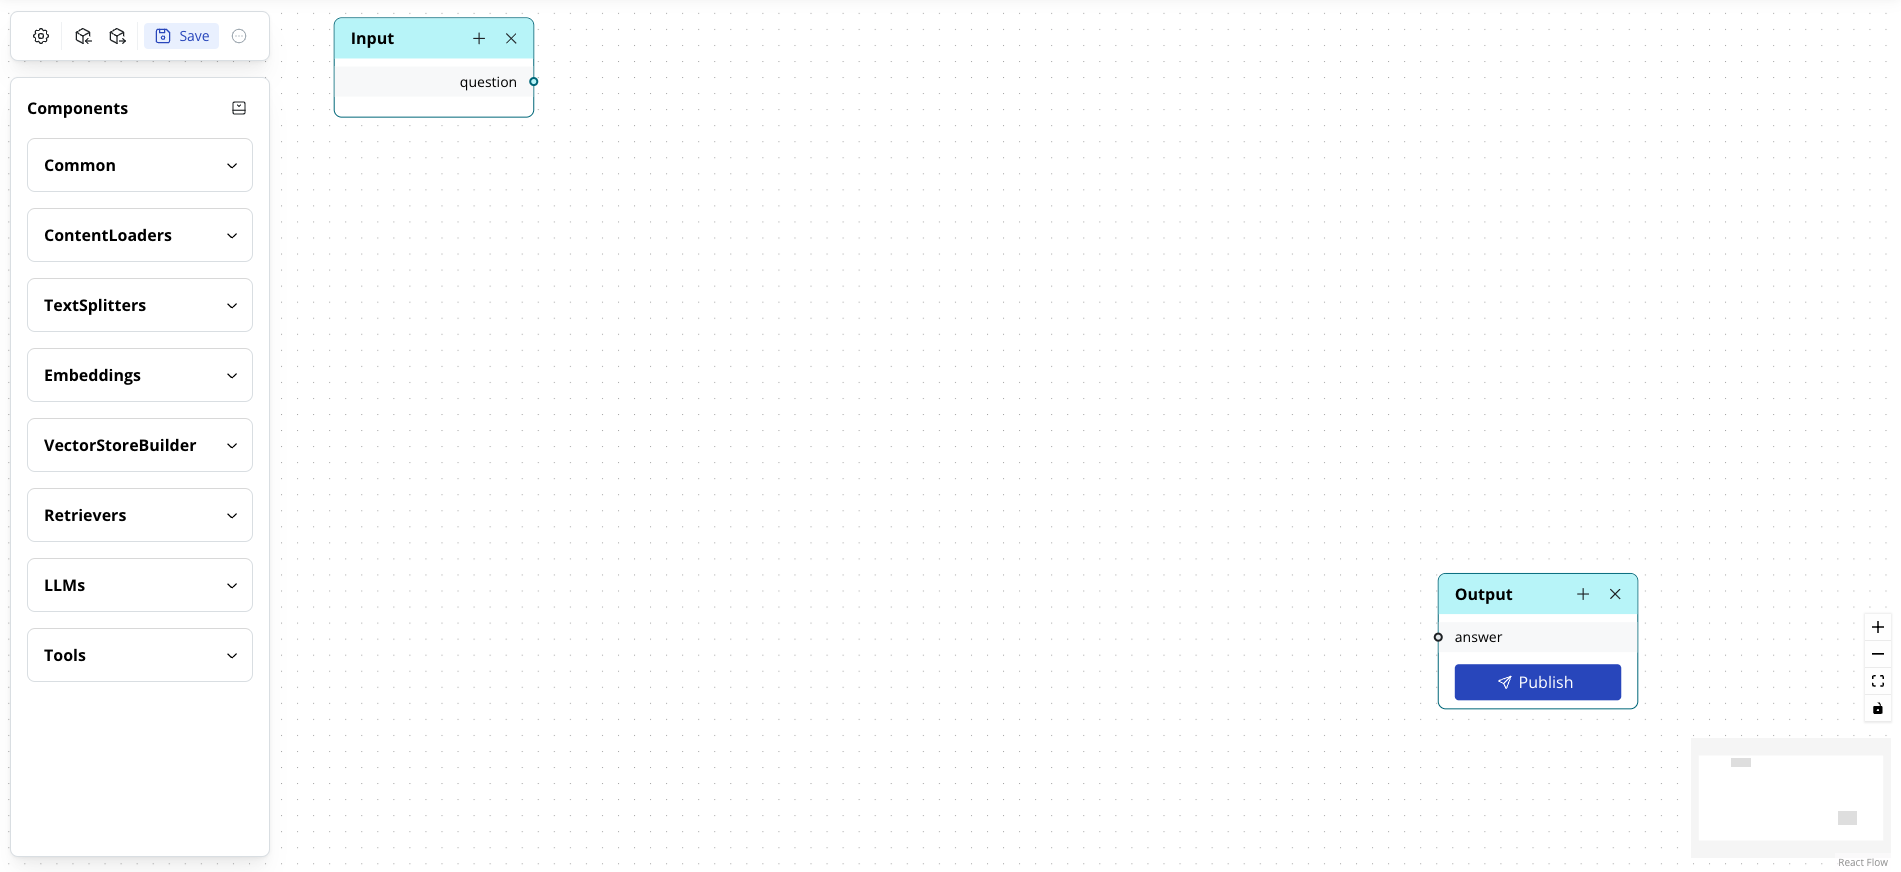
Explore the main interface of LaunchPad Studio
-
Flow Designer: the main area of the platform, the Flow Designer shows a diagram connecting different tasks including input, content loaders, LLMs and output to build a flow. Every flow starts with an input block and an output block.
-
Components: contains the tasks that can be added to a Flow to make up a full function. The Components sidebar includes: Content Loaders, Text Splitters, Embeddings, VectorStoreBuilders, LLMs, and many more categories.
-
Control Bar: a set of buttons used for saving, settings, import, and export.
II. Define User input
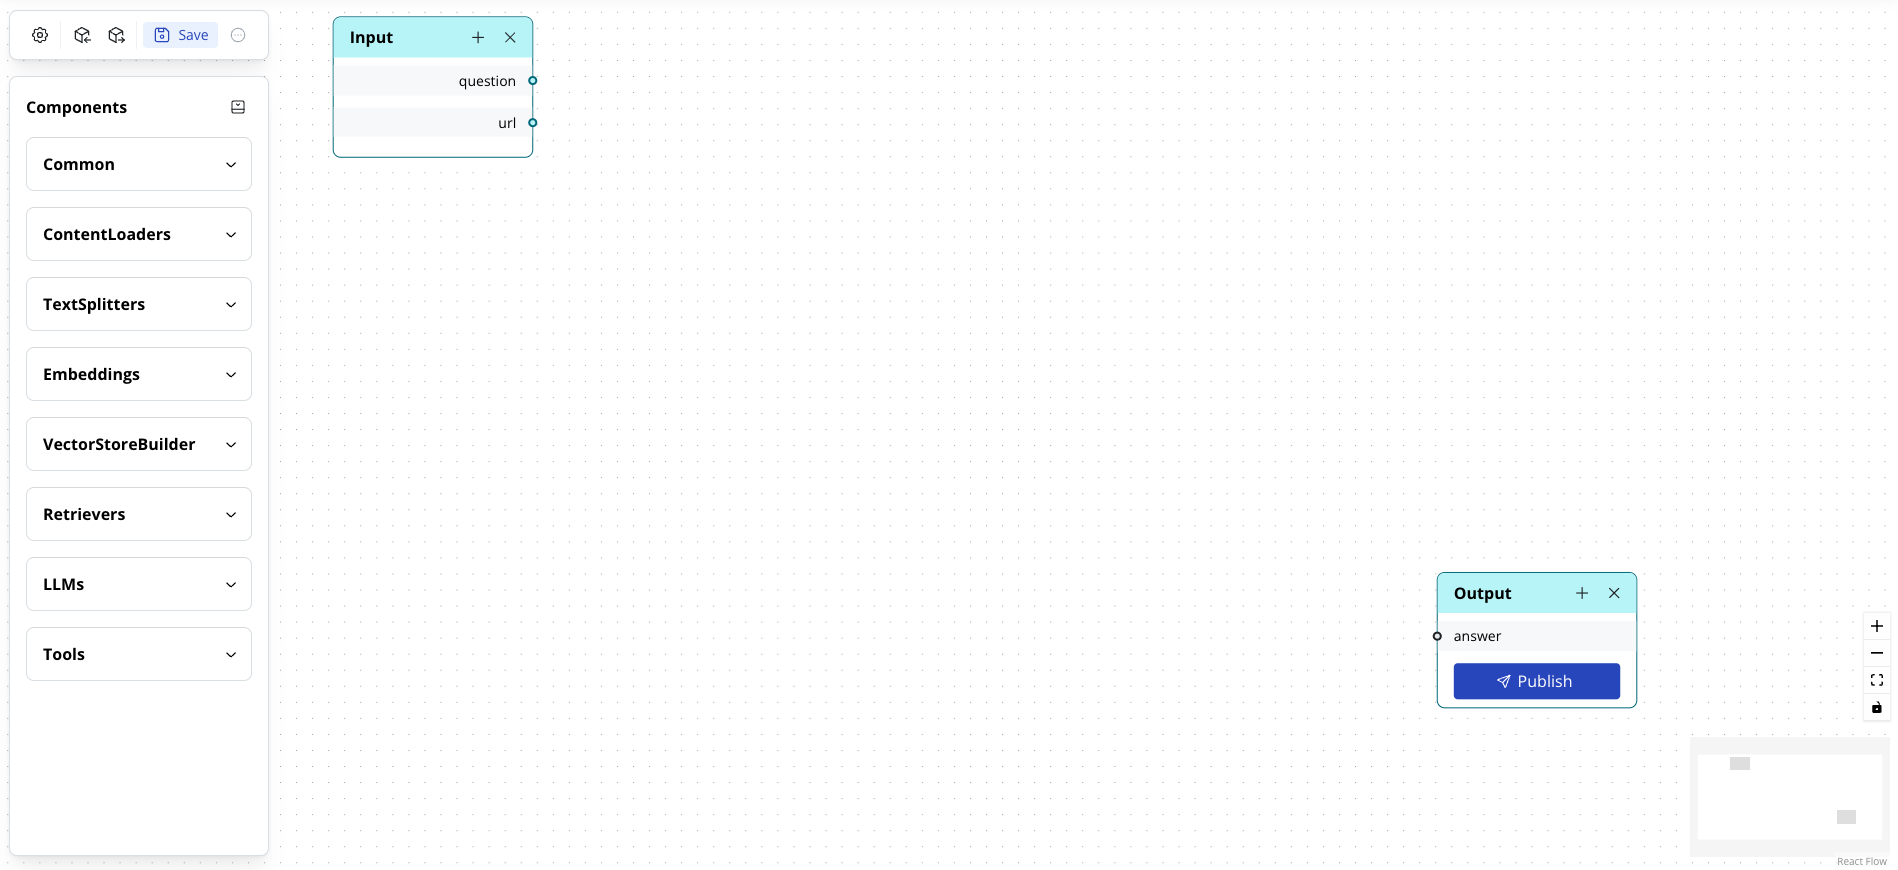
We start building the flow by updating input arguments, all flows start with this.
For this sample flow, since we chose QuestionAnswering Flow Type, an input field named question is already added. We need to add 1 more for the news article url.
-
Click on the + button in the Input block in the Flow Designer. And then click + Add Field button.
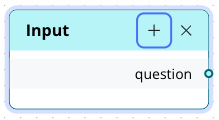
-
Click on the new field to expand its settings
-
Set the field name as
urland tick Required check box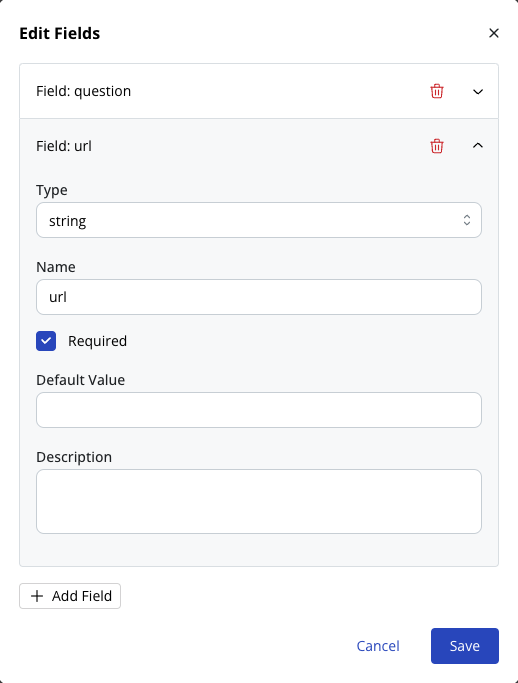
-
Click Save. The input block should be updated to reflect the new
urlfield.
Here's the flow with the new Input argument:
Note
-
The
inputtask is the entry point to a flow and receives the arguments on which the flow is executed. When deployed by API, theinputtask receives the arguments as a JSON object namedinputs. -
The input can have any number of arguments as defined by the flow creator. Each argument has a name, description, type (which can be
string,number,integer,array,object, …), required flag and default value. -
An argument given in the input can be used as a parameter for any task such as a user question or an LLM prompt.
III. Load data from a web page
Next, we need to add a content loader to retrieve the article for the LLM to answer the question on it. Since we want to read a web page, we will use the WebLoader task.
The WebLoader task scrapes the content of a website and returns a list of Documents representing the texts of the pages of the site, depending on whether the flag recursive is set to true or false.
In this case, we’re loading from a single web page which will result in a list of 1 Document:
-
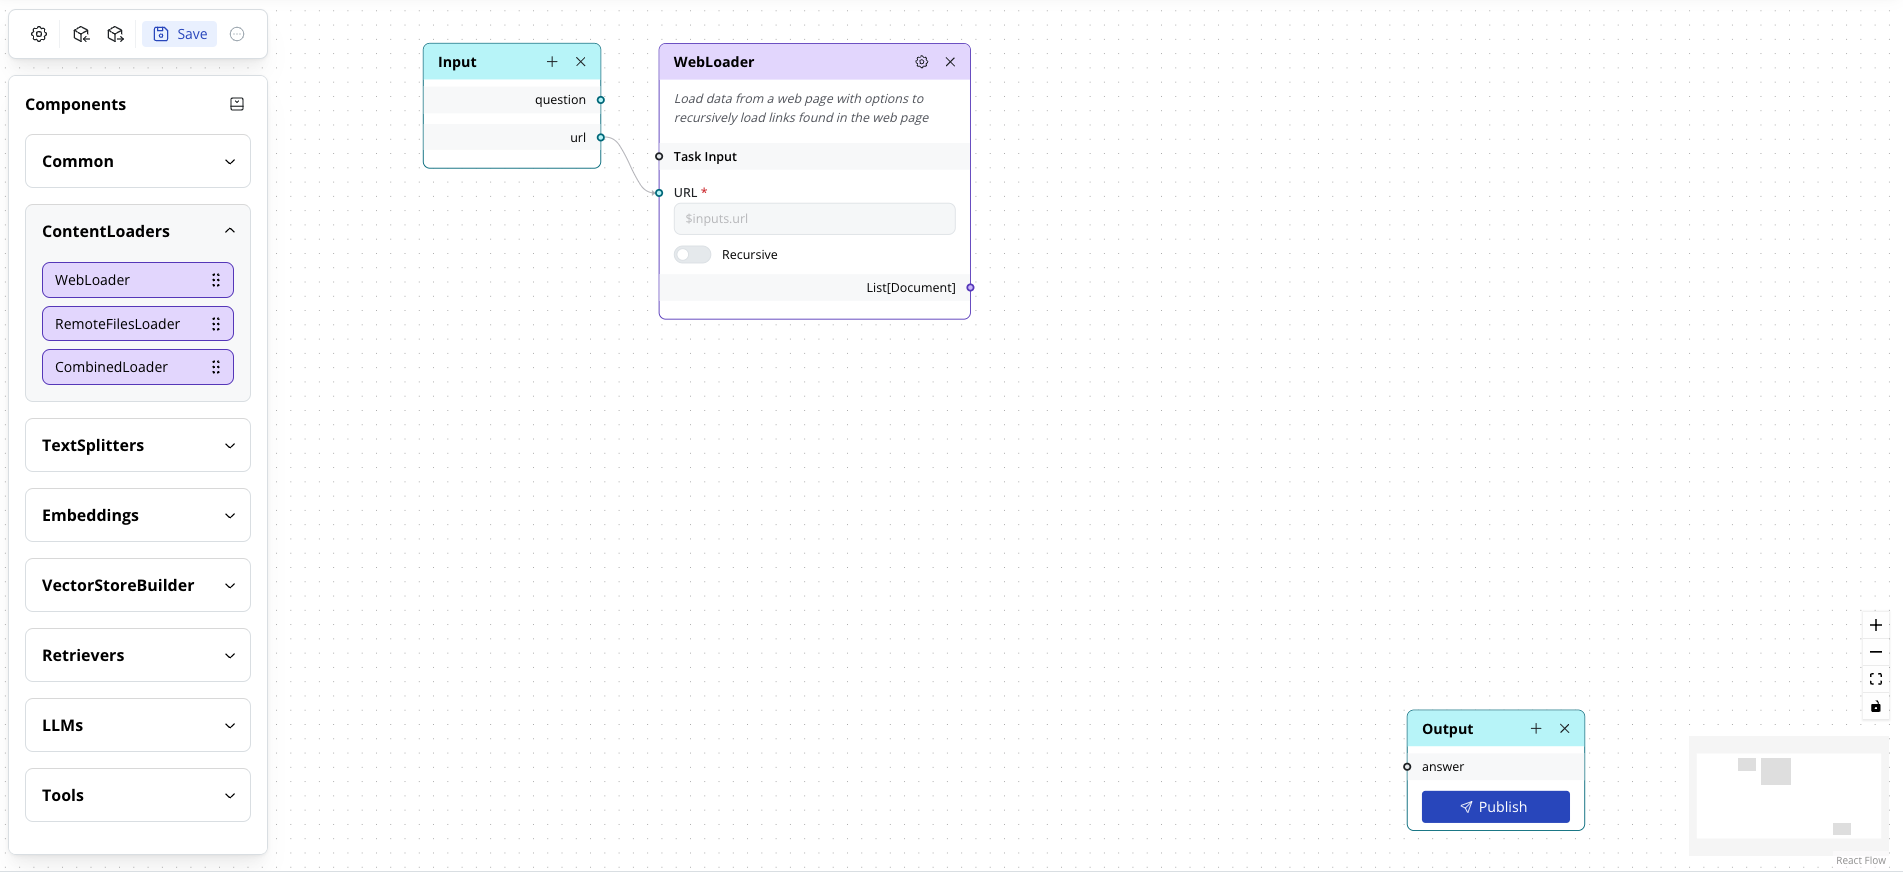
Expand the ContentLoaders category in the Components sidebar and then drag & drop the WebLoader task to the Flow Designer, on the right of the Input block.
-
Link the
urlfield from Input block toURLfield of the WebLoader task. This populates theURL's value as$inputs.url. -
Leave the
Recursivetoggle off.
Here's the flow with the new WebLoader task:
Note
- Each task has default retries and timeout settings among other settings, flow creator can change this via the Settings button (⚙) of the task. These settings are available to all tasks.
IV. Ask an LLM
We will now add an LLM task, a Large Language Model to answer the question using the prompt, which is the instruction sent to the model for text completion.
- Expand the LLMs category in the Component sidebar, drag the LLM task and place it between the WebLoader task and the Output block.
- Link the WebLoader block’s
List[Document]with the LLMTask Input. This denotes that the LLM task is dependent on the WebLoader task. (Task Inputis used for this purpose, linking it does not update any argument value.) - Click on the value of
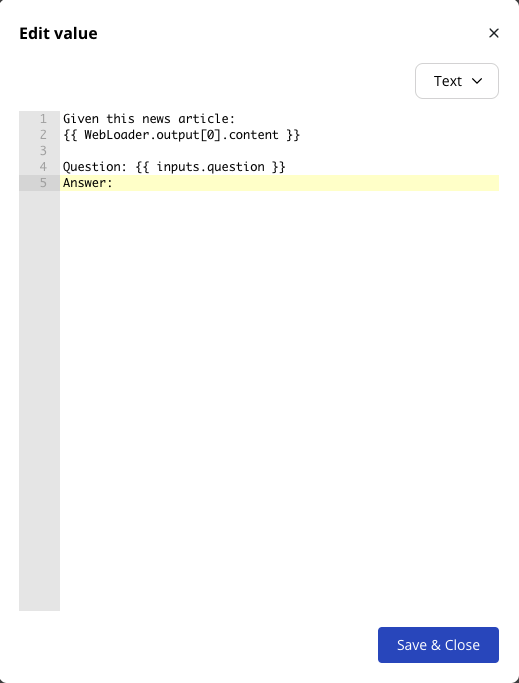
Promptargument to edit it. -
Enter the following value:
Note
- We are using a template to make use of input arguments and previous tasks' output. The templating engine is Jinja
WebLoader.output[0].contentrefers to the first element of the output of the WebLoader task. Since the output of WebLoader is a List of Documents, the first element is the single Document containing the news article content.inputs.questionrefers to thequestionin theInputblock.
-
Click Save & Close. You should see the
Prompt's value updated. - Leave all other arguments of the LLM task as is.
- Link the LLM task’s
Stroutput with the Output block'sanswerfield.
Here's how the complete flow looks like:

Note
LLM prompts have a limit on the number of words they can process. Because of this, we can rarely insert the entire text of a data source as part of the prompt to the LLM. For this example, we sent all the content from the website, but for real use cases, we should have 1 more step to split the documents into smaller chunks, and send only relevant chunks. Check out the sample Vector Store Building and Q&A use case.
V. Publish the flow
The flow is complete and is now ready to be published.
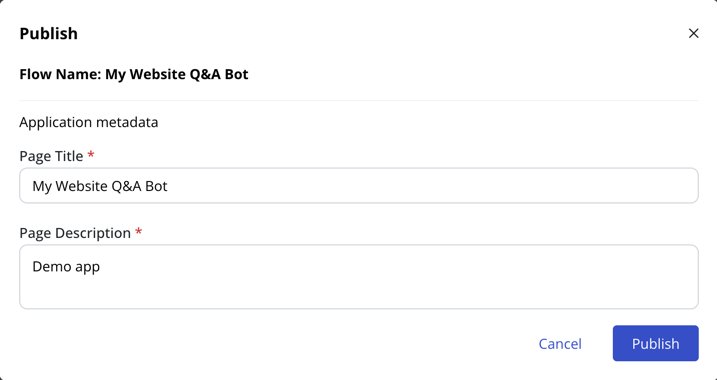
- Click on the Publish button in the Output block.
-
A confirm dialog box is shown. Here you can set the title and description of the Sample App as desired if you wish to test this flow using our Sample App.
Note
We have provided some Sample Apps for known Flow Type such as
VectorStoreManagementandQuestionAnswering. You can use these Sample Apps or build your own using the provided API. If you choose a custom Flow Type, note that there are no associated Sample App. -
Click Publish. A new Publish dialog appears with a loading icon.

-
Wait for a few seconds. The full instructions will appear:
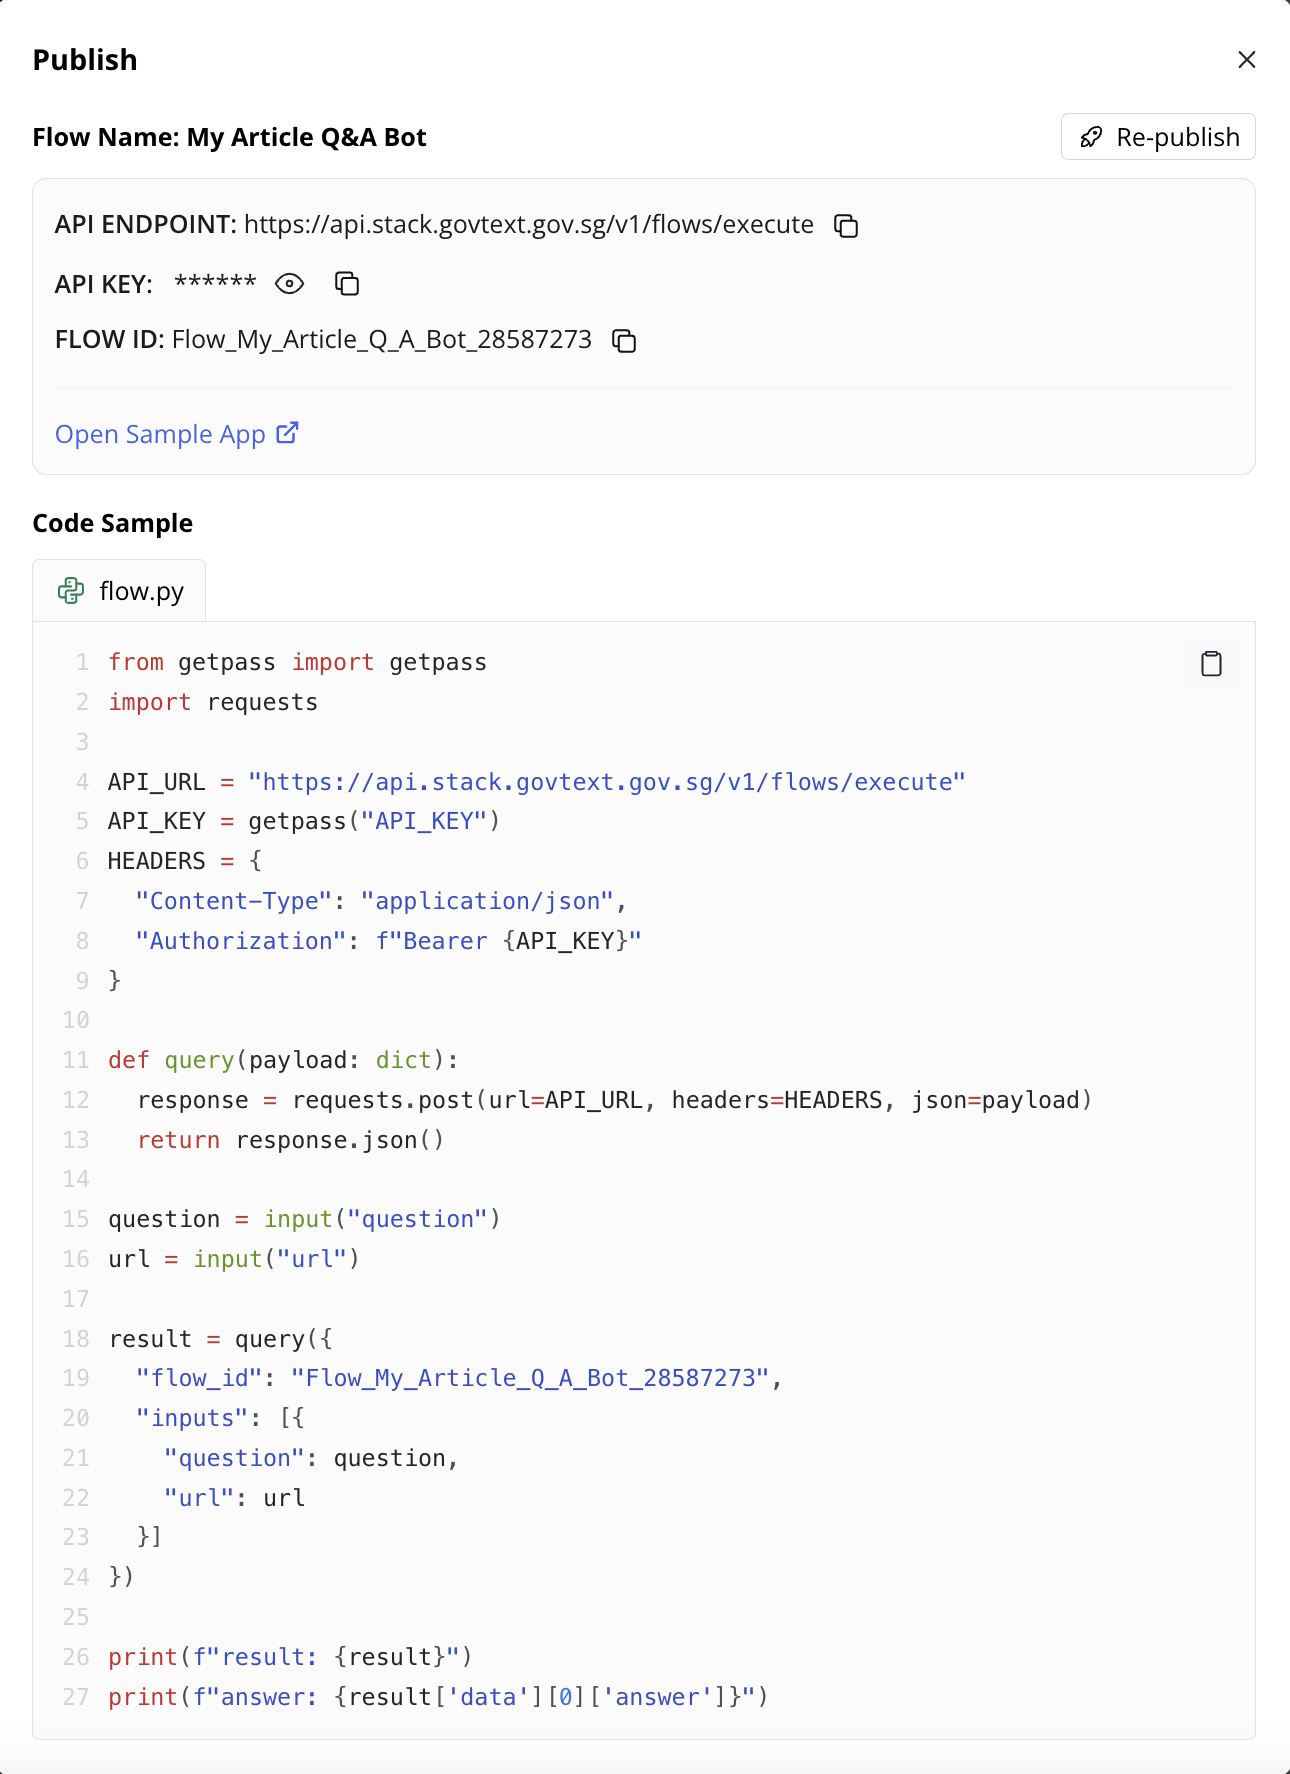
- Take note of:
- API Endpoint, API Key, Flow ID: you can use these in your own app. An example in Python is shown.
- Sample App: Click Open Sample App to open a sample demo app based on this Flow Type (i.e.,
QuestionAnswering). This is only available for flow types which we have built demo apps.
That's it. You have successfully completed designing and publishing an LLM-powered flow.
Note
If you have difficulty building the flow and publishing it, you can download this JSON file and import it into LaunchPad Studio to get the same flow.
VI. Test the flow
-
In a folder of your choice (recommended to be an empty folder), create a new python virtual environment and install the
requestspackage. -
Create a new file called
flow_execution.pywith the content copy from the snippet above. Here is the slightly modified version:# flow_execution.py from getpass import getpass import requests API_URL = "https://api.stack.govtext.gov.sg/v1/flows/execute" API_KEY = getpass("API_KEY: ") HEADERS = { "Content-Type": "application/json", "Authorization": f"Bearer {API_KEY}" } def query(payload: dict): response = requests.post(url=API_URL, headers=HEADERS, json=payload) return response.json() url = input("url: ") question = input("question: ") result = query({ "flow_id": "My_Article_Q_A_Bot_2c071031", "inputs": [ {"question": question, "url": url} ] }) print(f"\nresult: {result}") print(f"answer: {result['data'][0]['answer']}") -
Run the script with the provided API Key, url
https://lite.cnn.com/2023/05/30/tech/ai-industry-statement-extinction-risk-warning/index.htmland questionWhat are the risks highlighted?:You should get the following output:
Output
❯ python flow_execution.py
API_KEY:
url: https://lite.cnn.com/2023/05/30/tech/ai-industry-statement-extinction-risk-warning/index.html
question: What are the risks highlighted?
result: {'status': 'success', 'data': [{'answer': 'The risks highlighted in the article are the potential for global annihilation due to unchecked artificial intelligence, the spread of misinformation and displacement of jobs by AI-powered chatbots, and the need for regulation in the AI industry. The statement also acknowledges the potential for other types of AI risk, such as algorithmic bias or misinformation.'}]}
answer: {'content' : 'The risks highlighted in the article are the potential for global annihilation due to unchecked artificial intelligence, the spread of misinformation and displacement of jobs by AI-powered chatbots, and the need for regulation in the AI industry. The statement also acknowledges the potential for other types of AI risk, such as algorithmic bias or misinformation.', 'sources': []}
VII. Next steps
Now that you've built and tested a very basic flow, you can try to build a more complex flow that is closer to a typical production workflow. This involves building a vector store that is persisted and then building a Q&A flow that uses the vector store. Check out the sample Vector Store Building and Q&A use case for a step-by-step guide on how to do this.